Art Quote

"All art is autobiographical; the pearl is the oyster's autobiography."

Frederico Fellini


I collect aphorisms and quotes. When I read this one, I paused to reflect on the words and their meaning. I thought about how long art has been a part of my life. It is true that when you think about your art, you realize that it does tell the story of your life.


Sunday, October 26, 2014

~More of the first 400 cards~


~400 Hundred Cards! ~

What can I say about 400 cards?!  It seems impossible that I have made that many...but I number each and every one so I know the number is correct.

Today I completed card # 400.
The shapes were cut using a die and the Cuttlebug machine.  I have a rapidly growing inventory of dies.  Every time I see a  fabulous new card design on Pinterest, I end up buying a few more "supplies".  The image was stamped on and the bow attached upon completion.   I am slowly mastering bows.  I have collected 11 tutorials  for bow-tying.  It is surprising how many ways you can tie a simple bow.
I thought I'd show you how I've managed to arrange my card making supplies in my "art 
room".

Card storage:  
In the beginning, one shoe box was more than enough.  Now I have 4 shoe boxes.  This is a good way to keep them...whenever I need to expand, I just buy another pair of shoes.


My Primary workspace: 
 I've moved most of the watercolor items underneath (except for the brushes which remain in jars and baskets pushed to the corner).  I outgrew this space almost immediately and am constantly pondering new places to put stuff.


The Cuttlebug and accessories (dies and embossing folders) in the basket.  This too has changed since I took this photo.  I have a separate basket for embossing folders which multiply like rabbits.   And yes, those are baby wipes.  A stampers best friend.


This bookcase has been dramatically changed.  I've thinned out my watercolor books; and I've bought another little storage bin for paper.  I never would have thought I would fall in love with paper; and there are dozens and dozens of manufacturers....Just check out Scrapbook.com.
  

 Another storage area:
  I remember that these bins were used for something before cardmaking...but I can't remember what.  Windex ?... also used for cleaning stamps.


 Punches:
 I don't know where I am going to expand from here.

 Ribbon:
 If I could just limit the colors I use, I wouldn't need so much ribbon.

I definitely need a better system for embellishments.  I outgrew the folder after the first 100 cards.  I also have added a folder for computer generated greetings and one for directions for making some of the fancy fold cards.  ( I need a procedure manual!)


 Scrap and trash collection.


Secordary workspace:
 If I could work on one project at a time I wouldn't need more workspace....but I like working on 3 or 4 things at once.  I try to clean up at the end of each day to keep things semi-organized.


Now for "Show and Tell "~ a few more of the first 400.

 One of this years "snowflake-themed Christmas cards.

 I like  different shapes.

 The leaves were made with a die; the flower is 'store bought'.

 I like to say that each card is one of a kind....but I like this one so much that I've made several (with different paper patterns.)

 Same stamp as card #400~ different color ink.

 Lots of cut out shapes and embossing.

 Mya's birthday card.  The image was downloaded from the computer...lots of "printables" available for free.

 The card I made for Andy and Missy when Bracken was born.  It's a 'side step card'.

 The greeting part of this card is on a card attached to the yellow flowers. The embellished card fits into the red pocket.  I made these flowers.

I love this paper.  It's Graphic 45 "Birdsong"~all oriental designed papers.

I've added a separate post with more cards.  Next time, I will show you what other "papercrafts" I've been working on....

Monday, August 25, 2014

~Cardmaker's Anonymous~

It starts with a piece of white cardstock. a rubber stamp, scissors, glue and a sentiment.  Then, you want to add color; so more ink pads and colored papers.  As you look for a few ideas, you find Pinterest and you see the most beautiful cards being made by other crafters.  Now you must have a die cutting/embossing machine so that you can add all those neat shapes and textures; so you get a
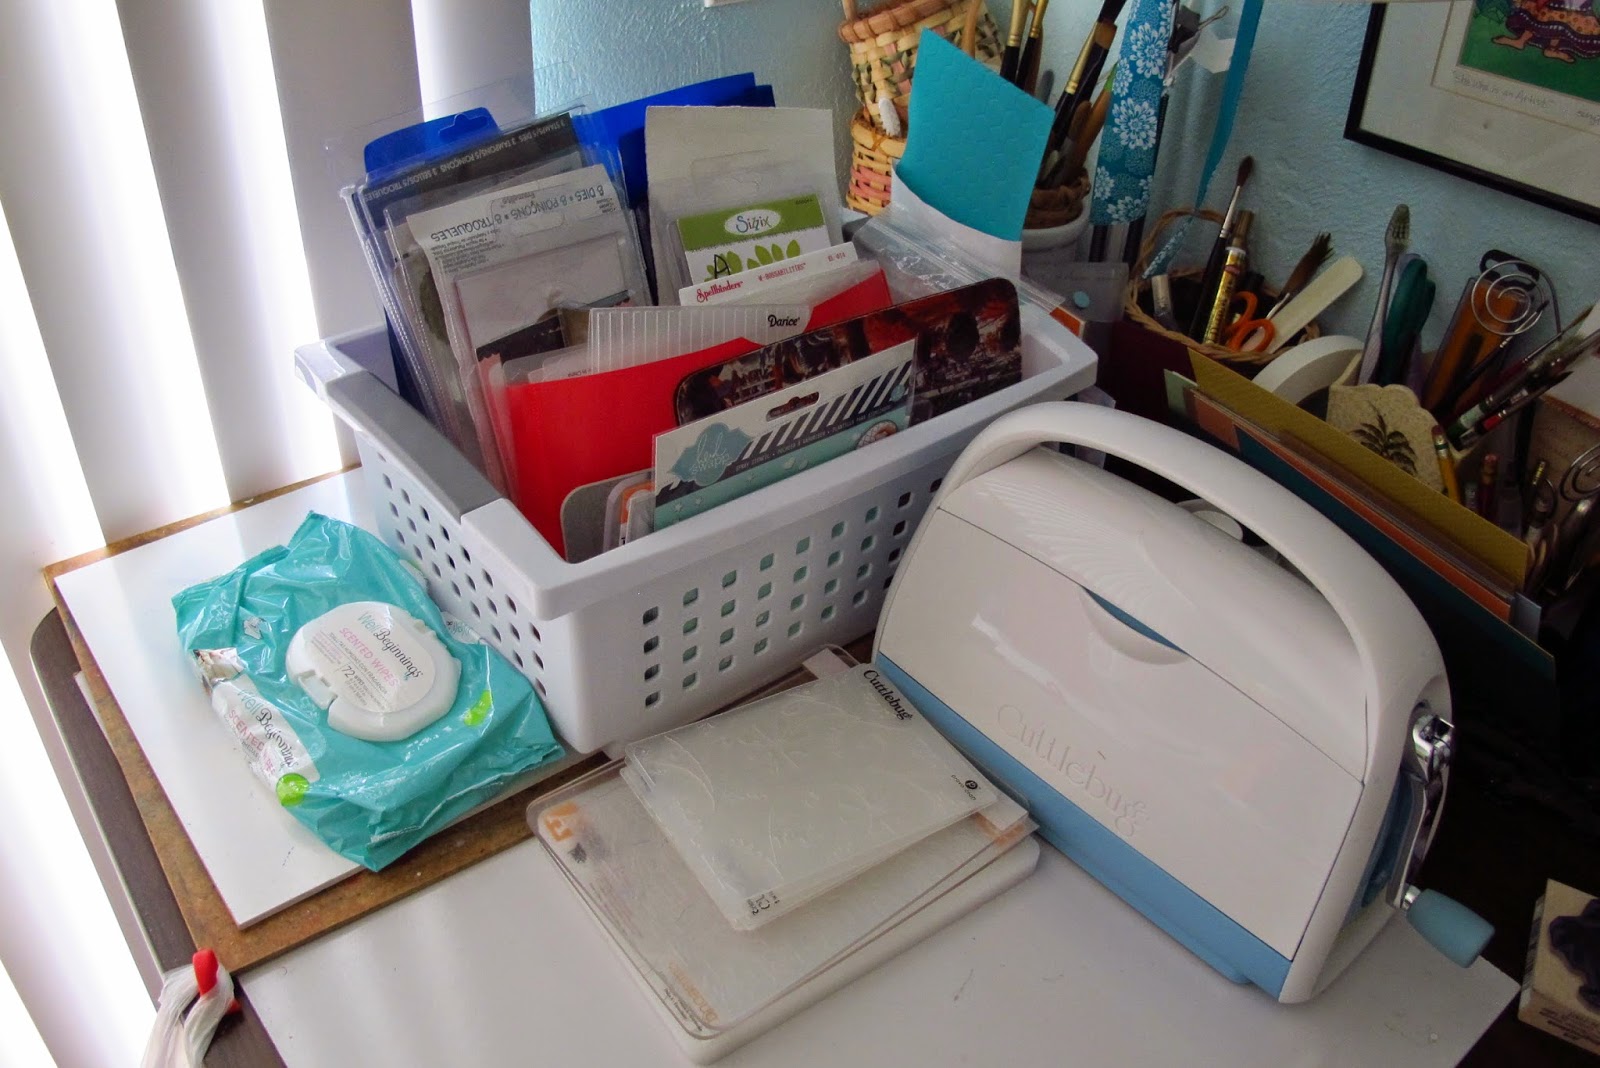
 Cuttlebug.


This leads to more designer papers, colored papers, rubber stamps, sticky strip, paper punches, embossing folders, dimensionals and embellishments~LOTS of embellishments.  What began as 2 boards of saved "ideas" on Pinterest is now 11 boards.   You find Youtube tutorials for making fancy folds, tying bows and then making mini-albums.  You become obsessed!  And, you are making pretty cards.

All of the watercolor supplies have been put 'away' to make room for cardmaking supplies.  Like most craft supplies, my cardmaking stuff multiplies (exponentially) as I find more ideas and supply sites.   I think the good thing is that I have almost everything I need now, except paper of course.


On my previous blog entry, from March, I posted a few of the first cards that I made .  I was fascinated by the layouts and neat folds and cardmaking techniques.  They took time to make and I used a lot of paper (I made a lot of mistakes) but the end product was so satisfying.

So I searched for more of these interesting folded cards.  You would not believe how many different ways you can cut, score & fold a piece of paper.  Here are a few more of the first cards I made.

 This is a 'double pocket card', there are tags with ribbons attached in each pocket.  Notice the textured background layer, that was made with an embossing folder using the Cuttlebug.

 This is an 'easel card'.  The paper flower and ribbon are ''embellishments" as is the little button that keeps the card propped up.

 A 'double Z-fold card' made with 3 co-ordinating designer papers.  The scalloped backing on the tag closure was made with a die on the Cuttlebug.

 This is also 'pocket card'.  The pocket is made with a torn paper.  The stringed button adds a bit of interest.

 Another 'pocket card'.  They really are one of the easiest cards to make.  I love the paper butterfly and chose the paper so that I could use it.

 This is one type of 'slider card'.  The card starts with a flat front, when the tab is pulled, the card slides up and reveals the message inside the window.

 Another 'easel card'.   Owls are very popular!

 A 'sunburst card'.  Very easy once all the papers are cut into triangles.  I made the flower to co-ordinate with the colors in the papers.

This is what cardmakers call an 'Inchie Card'.  Each little square is a one inch square or close to it.  This card was made using a combination of techniques.  The background floral design was stamped on a sheet of white cardstock.  Then I colored it with "gelato" crayons.  Then, I cut the colored design into the pieces & glued them on the paper in rows of rearranged flowers.  The flower was a pre-cut die~I "punched up" the color a bit to match the card colors.

Now you have an idea of what cardmaking entails.....but there is SO MUCH more.
(to be continued)

Monday, March 24, 2014

~A Change of Pace~


Card Making

I spent a weekend with my artist friend Ann.  One evening she showed me all the things you can learn on YouTube.  We came upon this card, which looked rather interesting.
It's called a "Waterfall Card".
 This was my second attempt.  I forgot to take a photo of the first.  It took some figuring out but it is so worth the effort.  Below, is a photo that I took off Google to demonstrate what happens when you pull the tab.  The card flips open, one little page after the other.

After two waterfall cards I was hooked~on cardmaking and YouTube!

The next card was even MORE fascinating.  The "Double-Pull out Card".
Imagine this closed, just the little owls showing; then pull the tab at the left and as the left comes out so does the right!   "How'd they do that?"   With a strip of plastic bag!!!
Now this took me several attempts before I could get the two sides to move at the same time.....but, practise makes perfect.  Well maybe not perfect yet~ but it helps a lot!

I folded some money and put it in the pocket of the right side pop-out.

On to the "Easel Card".
These start flat, then when opened can be propped up to stand like an easel.


I'm on a roll...... and the creative juices are flowing; with the help of Pinterest and YouTube....(and Michaels, JoAnn's and Amazon.com.)


~ each one of those itsy bitsy little jewels was put on one at a time.


Both of these cards were made with recycled materials.

#28   With two pockets.  Card made with a recycled gift bag.

I just completed #32 and there are two on my table ready to put together.  It sometimes takes hours  to pick out the paper combinations, embellishments and the best fold or design for a card. 
I have been card making for years....usually at Christmas...so I dug into my closet and brought out all the Christmas supplies.  I think I'll get a jump-start on Christmas cards.